Project Introduction#
4EVERLAND is a platform that allows you to host fast, efficient, and uncensored websites or DApps on Web3. Today, let's take a look at how to deploy your own project using 4everland.
Why Choose 4EVERLAND#
-
Free deployment of front-end applications
-
Supports one-click import
-
Supports custom domain names and SSL configuration, HTTPS
-
Simple and user-friendly, personal accounts can deploy next.js, Nuxt.js, Gatsby.js, Angular, Ember.js, Hexo, and more for free
-
Decentralized with IPFS, no need to worry about downtime
It can be said that 4everland can meet all the functions that Vercel can achieve, and it is even more powerful. Hosting is just one of the basic functions on 4everland. According to the official Roadmap, 4everland has great ambitions in the web3.0 field.
Getting Started with Deployment#
-
First, successfully deploy GitHub Pages (you can directly fork the project you need to your GitHub, this article uses NotionNext as an example)
-
Then log in to the 4everland official website and import with one click
First, fork the following project to your own GitHub
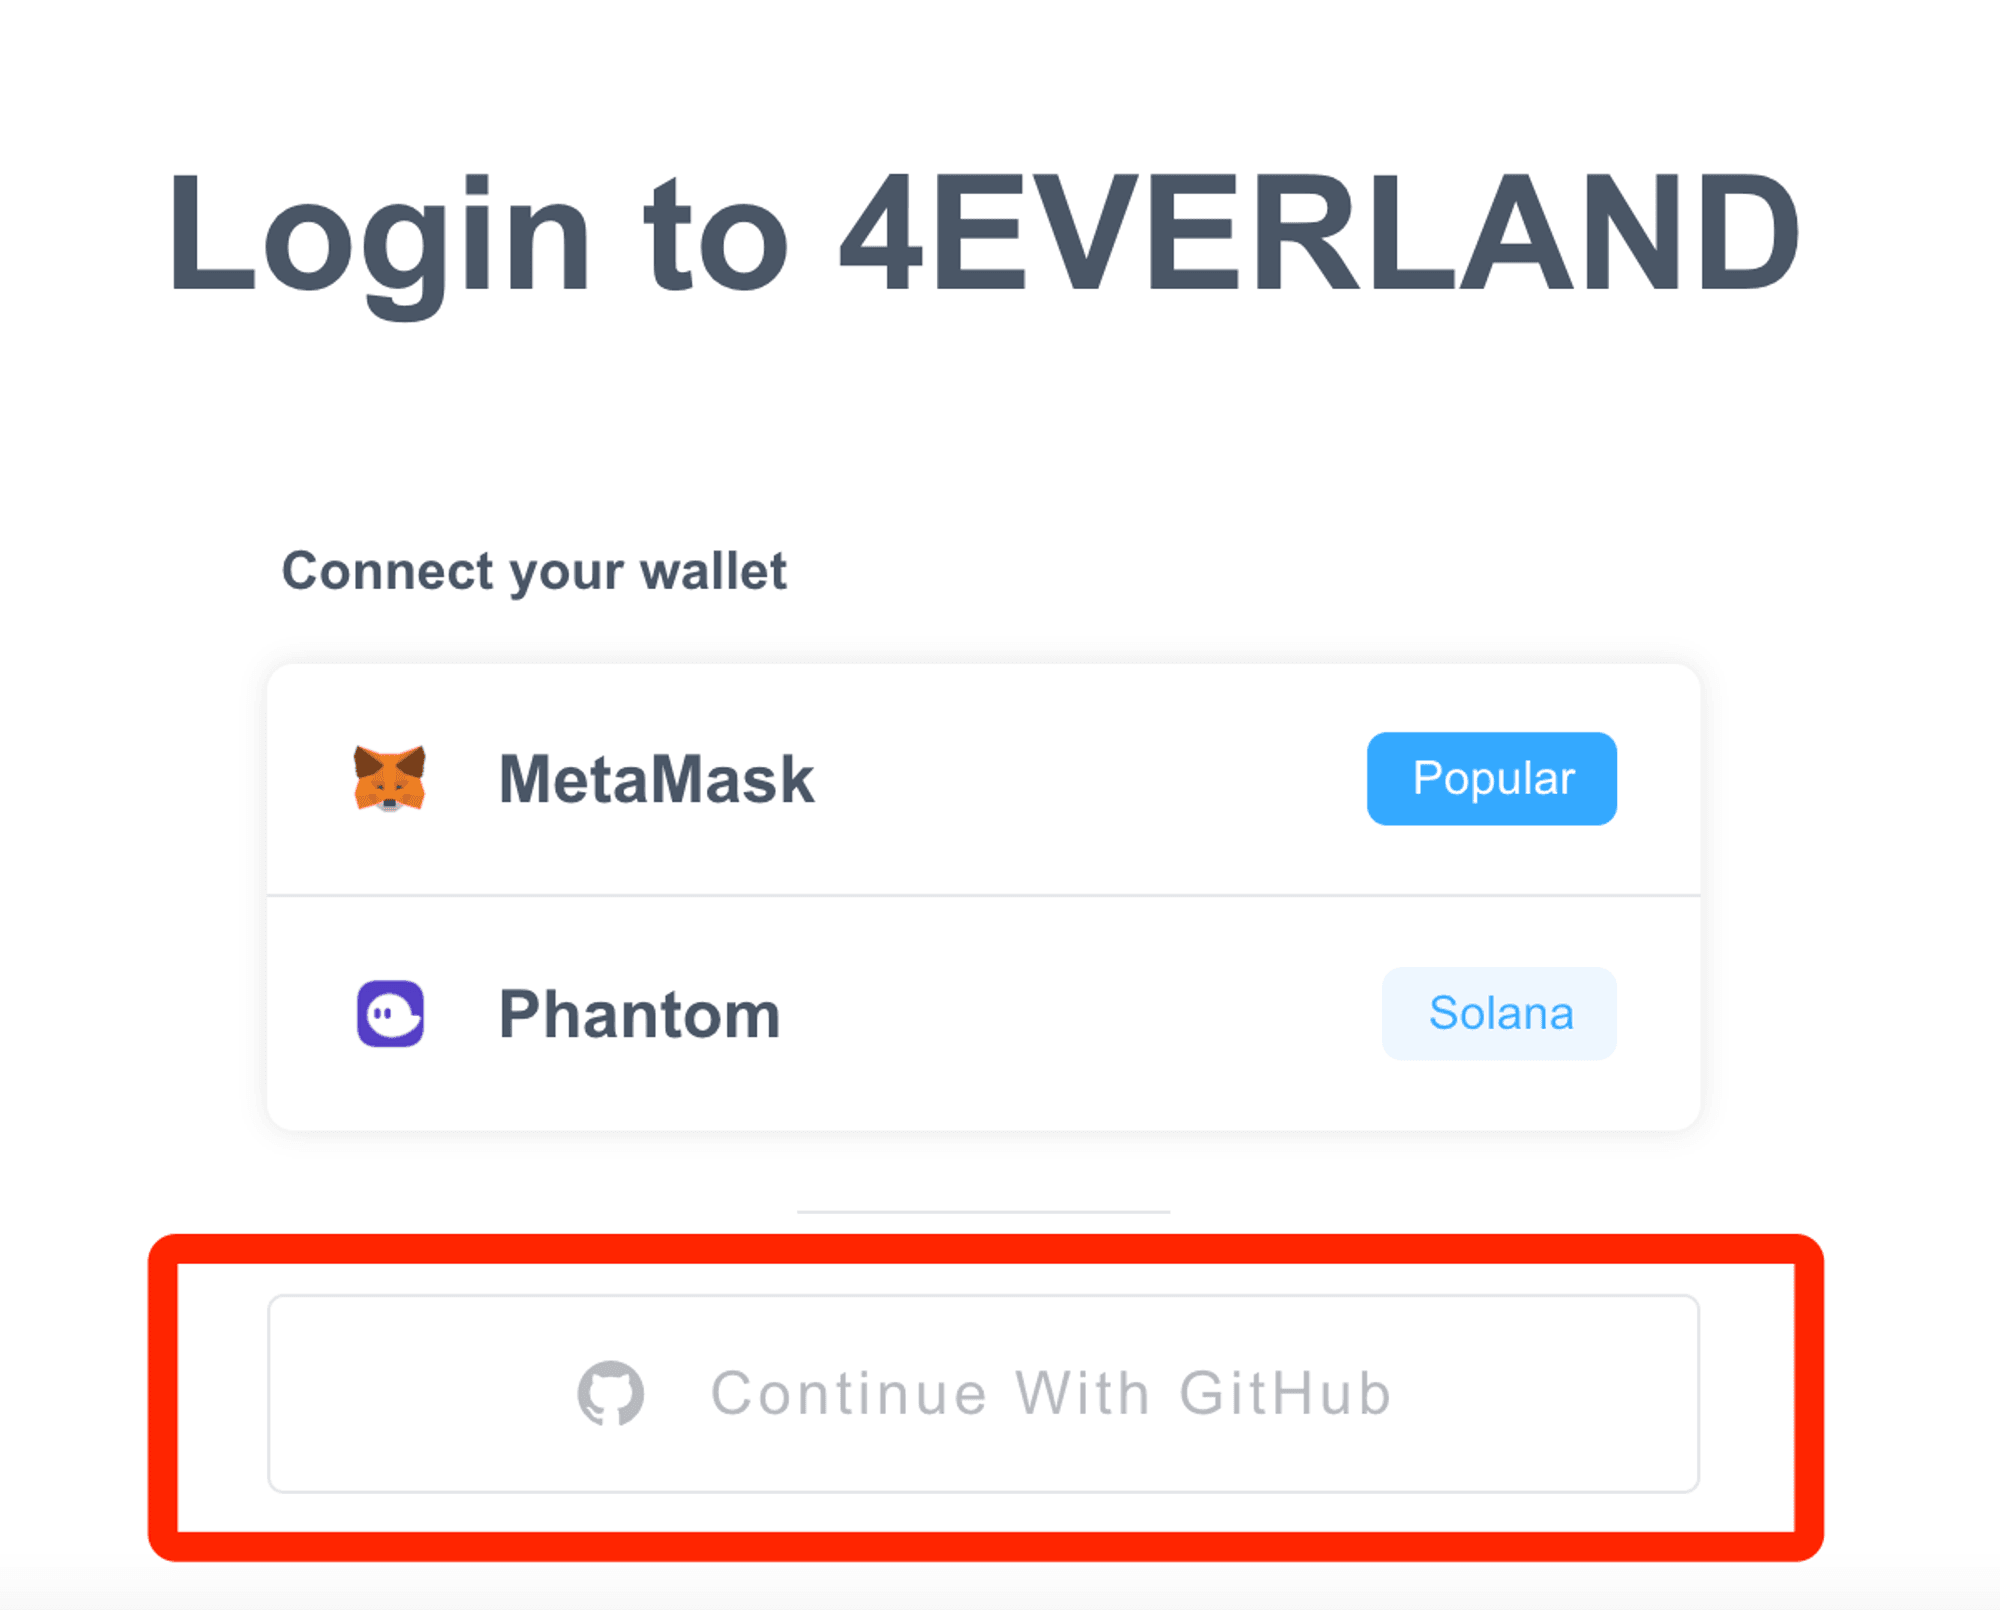
Choose GitHub login on the 4everland official website
Choose hosting -> New Project on the 4everland official website

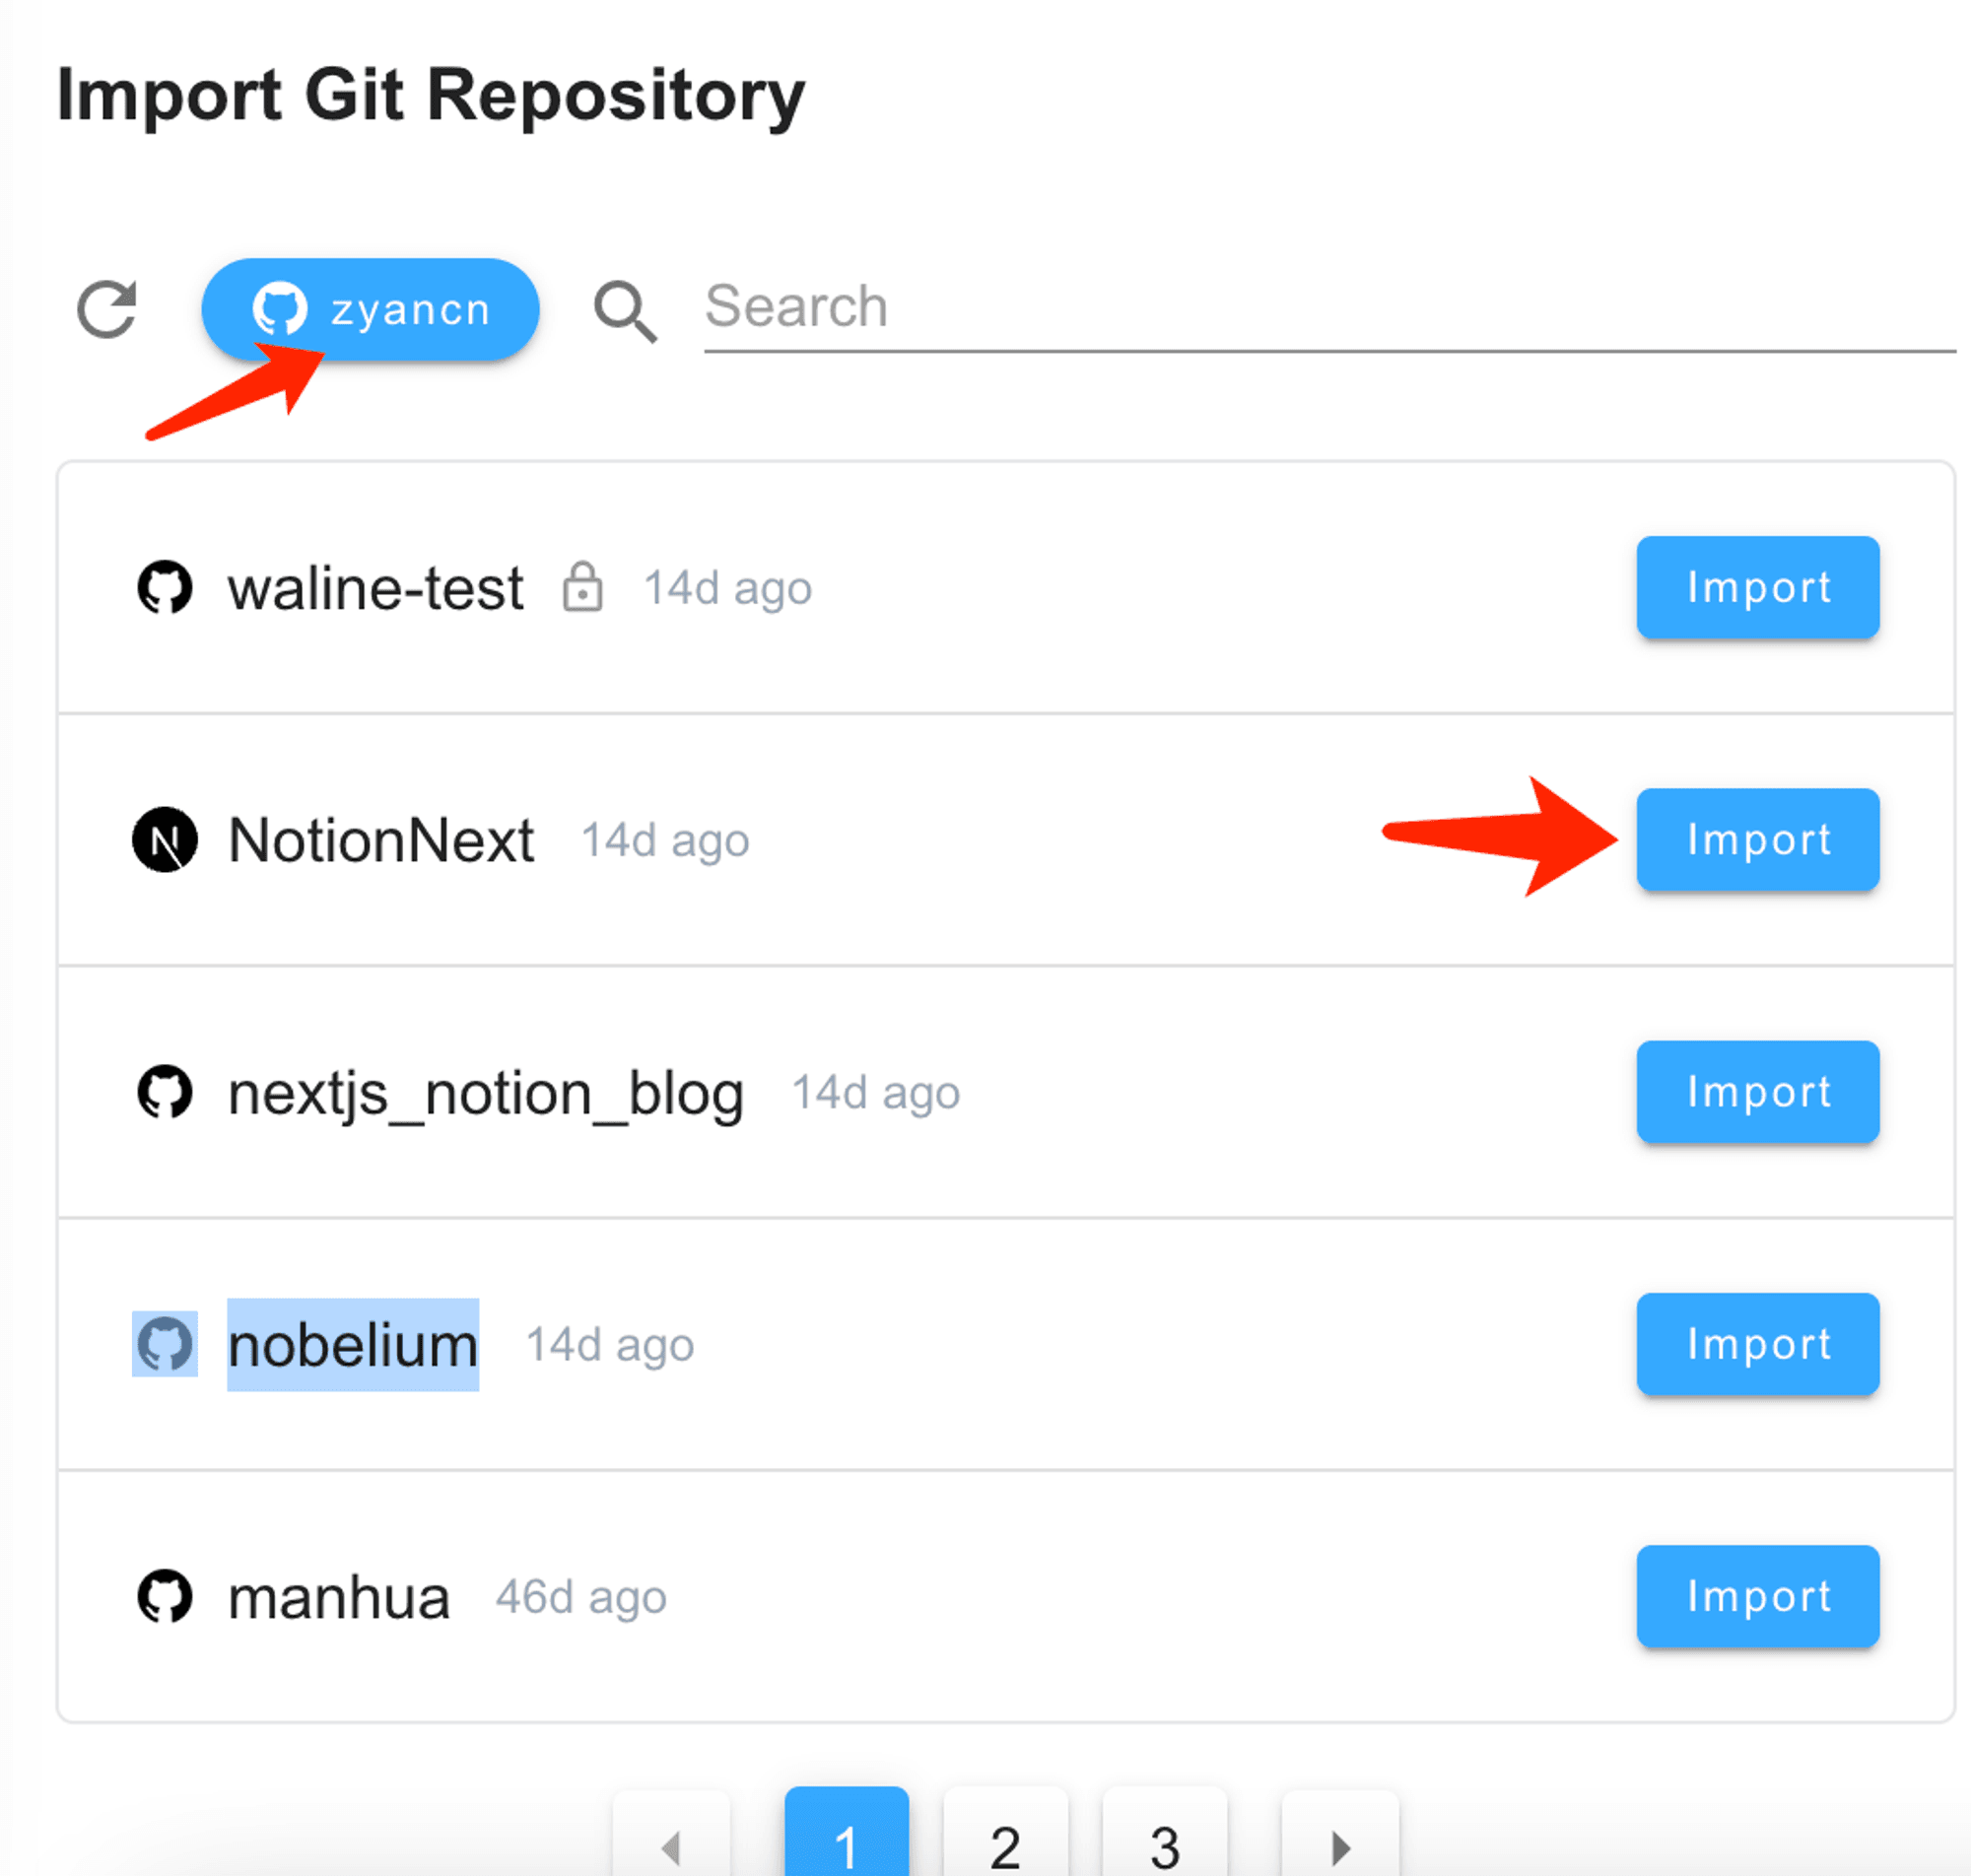
Choose your GitHub account and import the corresponding project
After configuring the relevant settings, simply deploy it
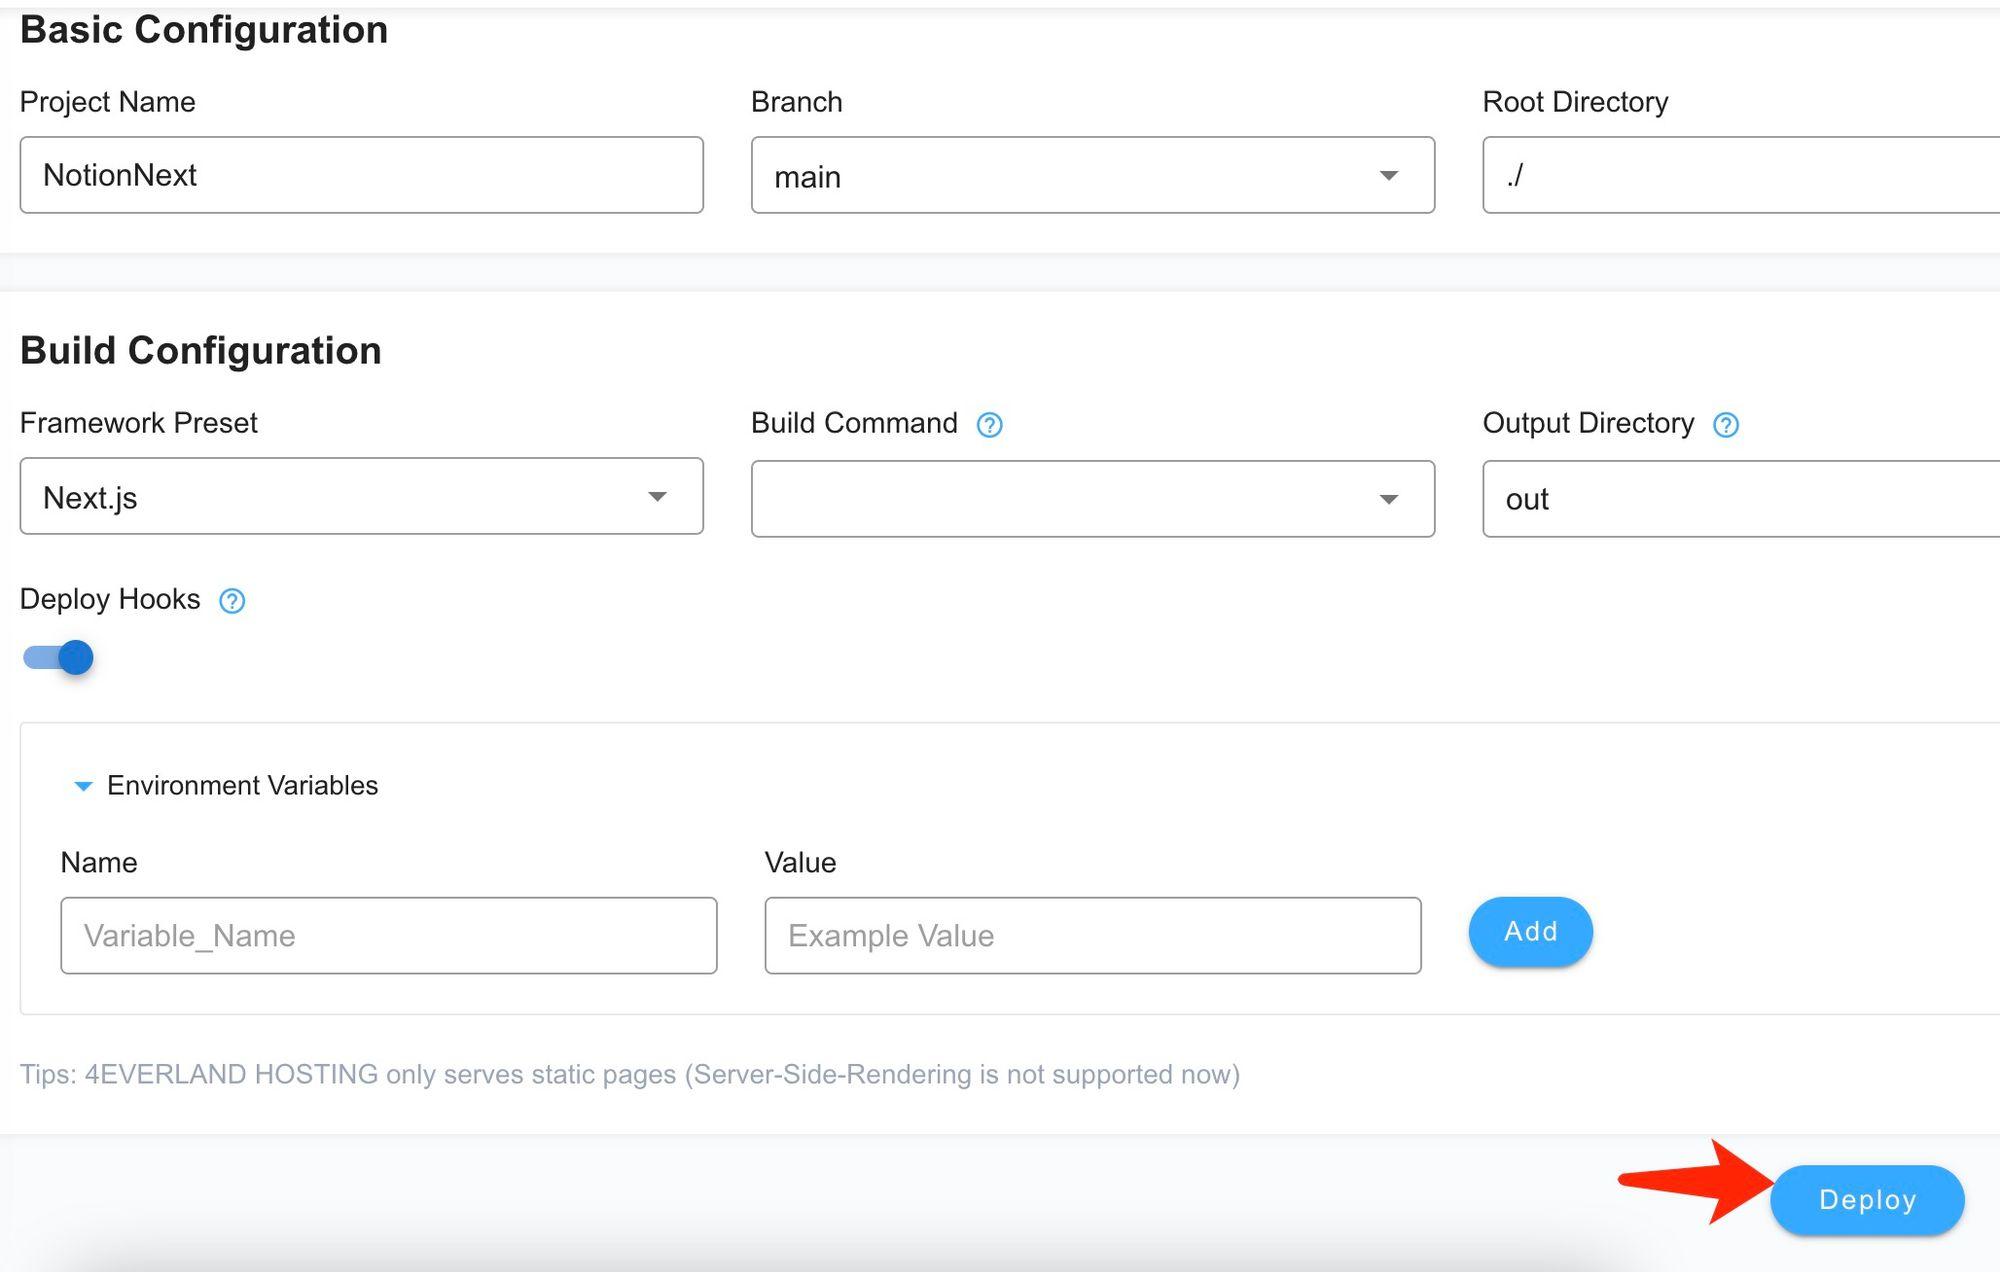
For specific configurations, you can refer to the readme file of your own project.
Note: Some functions require signing in with a Metamask wallet to operate. For specific instructions, you can refer to the following link: